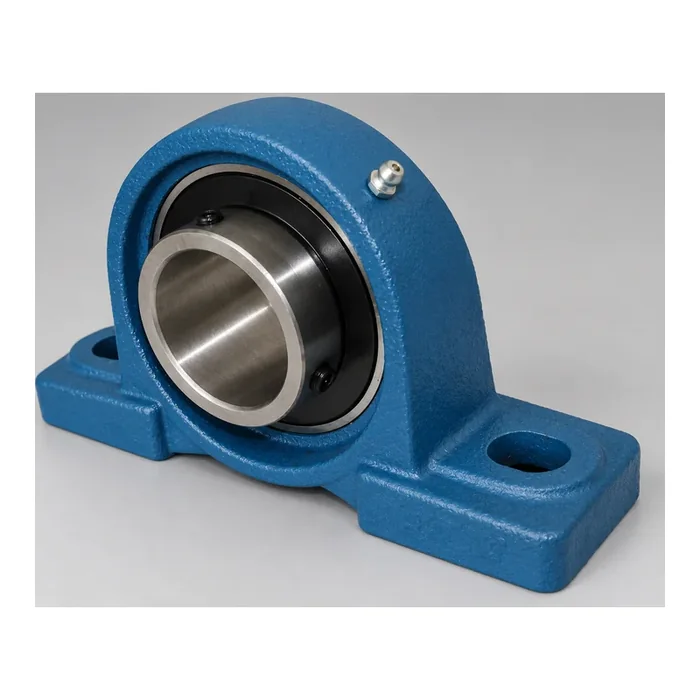
Correct installation and lubrication have a major effect on the service life of a mounted bearing unit. A good maintenance routine starts before the housing bolts are tightened and continues through alignment, lubrication and periodic inspection.
The guidance below is intended for common mounted bearing units. Always follow the bearing and equipment manufacturer’s instructions for the exact locking system, torque values, lubricant and relubrication interval.
1. Prepare the Shaft and Mounting Surface
Lock out and tag out the equipment before work begins. Support the shaft independently and remove belt, chain or coupling loads that could move the assembly unexpectedly.
Clean the shaft and mounting surface. Check for burrs, corrosion or damage, and confirm the shaft diameter is within the tolerance required by the bearing manufacturer.
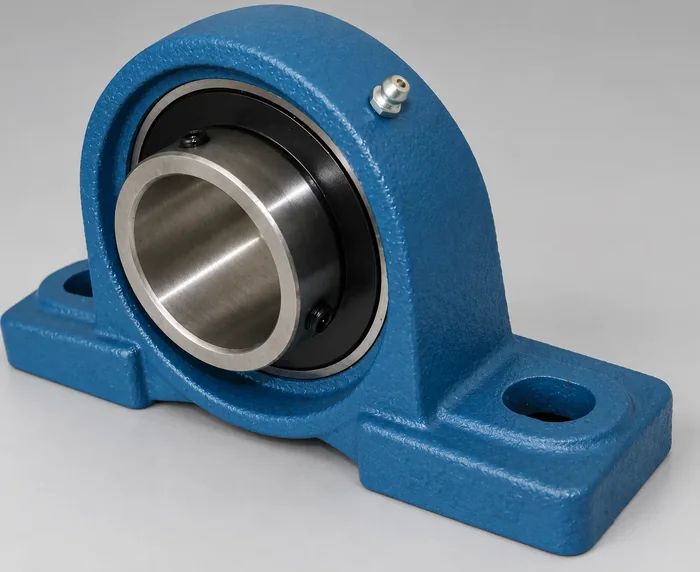
2. Align the Bearing Units Before Final Tightening
Mount the housings loosely first so the shaft can settle into its natural alignment. For a shaft supported by two mounted bearings, both housings should be aligned before the mounting bolts and shaft-locking mechanism receive their final tightening.
Do not force a misaligned housing into position with the bolts. Distortion of the housing or bearing insert can increase temperature and shorten bearing life.
3. Tighten the Shaft-Locking System Correctly
Mounted units may use set screws, eccentric locking collars, adapter sleeves or other locking systems. The correct procedure depends on the design.
Use the manufacturer’s specified tightening sequence and torque rather than a generic value. Over-tightening can damage the shaft or inner ring, while insufficient tightening can allow creep between the shaft and bearing bore.
4. Choose Lubrication for the Actual Operating Condition
Many mounted bearing units are supplied with grease from the factory, but initial lubrication and relubrication requirements vary by product.
Grease selection should consider speed, load, temperature, contamination, water exposure and the existing lubricant. Do not mix incompatible grease systems without checking compatibility.
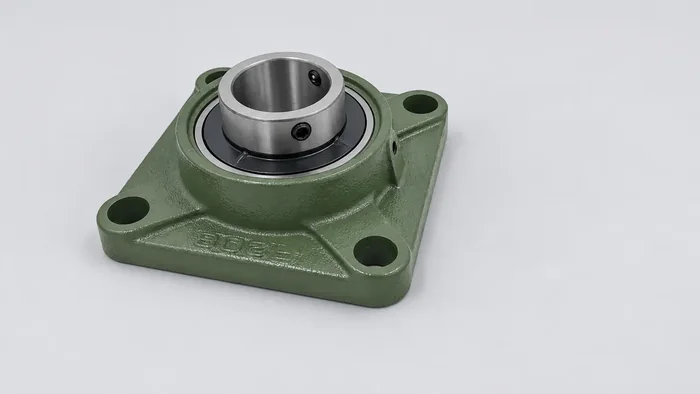
5. Pay Extra Attention to Vertical Shafts
On a vertical shaft, gravity introduces an axial load into the bearing arrangement. The bearing rating, locking system and housing support must therefore be checked for the required axial load and shaft-retention duty.
Do not assume a mounted bearing is suitable simply because the bore matches the shaft.
6. Use Failure Symptoms to Guide Troubleshooting
| Symptom | Possible Causes to Check |
|---|---|
| High temperature | Misalignment, excessive or insufficient lubrication, excessive preload, contamination |
| Noise or vibration | Loose mounting, damaged raceways, poor alignment, contamination, shaft fit |
| Grease leakage | Over-lubrication, damaged seals, pressure buildup, unsuitable grease |
| Repeated early failure | Load calculation, sealing, lubrication interval, shaft/housing fit, installation condition |
7. Replace the Insert Only When the Housing Is Still Serviceable
Many mounted bearing units use a replaceable insert, but the housing should be reused only if the seating surface, fit and structure remain within acceptable condition.
Before replacing an insert, confirm the complete unit model, insert compatibility, lubrication-hole position and locking method. Some designs require the shaft or adjacent components to be moved for safe replacement.
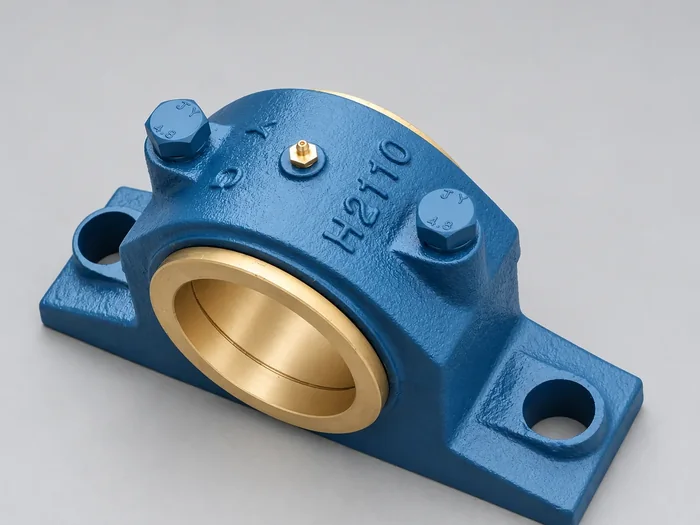
Find the Correct Mounted Bearing
Browse EIM bearing housings or use the Bearing Model Search to compare series and dimensions.
If you are replacing an existing unit, send the full bearing designation, shaft size, operating speed, load and application information through our Request a Quote page.
Need to verify a bearing for your equipment?
Send the complete model designation or drawing, load conditions, speed, quantity and other critical requirements.